| DSCN0577
| Sm
Med
Lg
|
| Description :
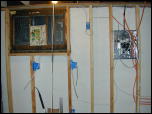
| Roughing in of the electrical. I figured a subpanel would make
wiring all the outlets much easier.
| | Date :
| Sun Dec 1 23:41:41 2002
|
| |  |
| |
| DSCN0578
| Sm
Med
Lg
|
| Date :
| Mon Dec 2 05:25:07 2002
|
| |  |
| |
| DSCN0579
| Sm
Med
Lg
|
| Description :
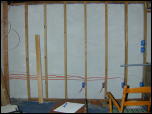
| That's a lot of outlets. The grey box is for a 30A 240V socket
was originally slated for a sparccenter 2000.
| | Date :
| Mon Dec 2 05:25:51 2002
|
| |  |
| |
| DSCN0580
| Sm
Med
Lg
|
| Description :
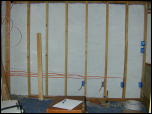
| A clearer view of the wall behind the racks. The workbench can
be seen on the right edge of the photo.
| | Date :
| Mon Dec 2 05:26:32 2002
|
| |  |
| |
| DSCN0618
| Sm
Med
Lg
|
| Description :
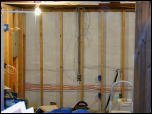
| Ethernet wiring appears. In retrospect I should've run full
conduit for all the ethernet, but it would've been a hell of a
lot more effort, and I honestly don't see myself exceeding
100mbit within the next five years.
| | Date :
| Mon Dec 30 04:15:40 2002
|
| |  |
| |
| DSCN0619
| Sm
Med
Lg
|
| Description :
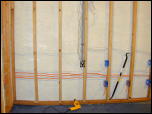
| The black frame in the middle of the photo is where the patch
panel will be placed. I need to run more wire to other
parts of the house after the wall was closed, so put in a
length of conduit from the patch panel location to the open
floor of the basement.
| | Date :
| Mon Dec 30 04:16:37 2002
|
| |  |
| |
| DSCN0620
| Sm
Med
Lg
|
| Description :
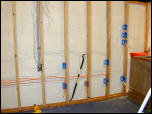
| Another view of the back wall. Both ethernet and electrics
have been pulled, and we're ready for drywall.
| | Date :
| Mon Dec 30 04:16:49 2002
|
| |  |
| |
| DSCN0621
| Sm
Med
Lg
|
| Description :
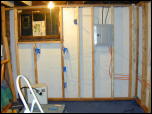
| The wall around the subpanel. Note the studwork involved
around the corner.
| | Date :
| Mon Dec 30 04:18:45 2002
|
| |  |
| |
| DSCN0623
| Sm
Med
Lg
|
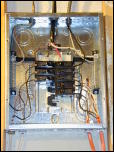
| Description :
| The new subpanel. Notice how all incoming wires are labeled
and how much room there is to work inside the panel. A second
grounding strip was also installed to facilitate ease in wiring
hookups.
Extra capacity in this panel will eventually be used to provide
finer circuit granularity within the house.
| | Date :
| Mon Dec 30 04:24:03 2002
|
| |  |
| |
| DSCN0624
| Sm
Med
Lg
|
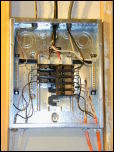
| Description :
| Another subpanel shot
| | Date :
| Mon Dec 30 04:24:55 2002
|
| |  |
| |
| DSCN0625
| Sm
Med
Lg
|
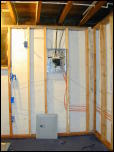
| Description :
| The subpanel wall and desk-accessible circuits.
| | Date :
| Mon Dec 30 04:25:42 2002
|
| |  |
| |
| DSCN0626
| Sm
Med
Lg
|
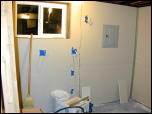
| Description :
| Drywall is up, and the new window is in. No more drafts in
this corner of the basement.
The electrical box holes were made with a rotozip tool, and
while easy to operate, it takes a bit of experience to get a
good feel for where the edges of boxes are. Hence the
overshoot on a number of boxes.
| | Date :
| Wed Jan 15 06:00:23 2003
|
| |  |
| |
| DSCN0627
| Sm
Med
Lg
|
| Description :
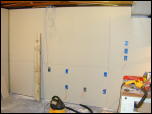
| The rack wall, ready for taping.
| | Date :
| Wed Jan 15 06:00:51 2003
|
| |  |
| |
| DSCN0628
| Sm
Med
Lg
|
| Description :
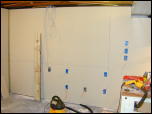
| Rack wall, ready for taping
| | Date :
| Wed Jan 15 06:01:02 2003
|
| |  |
| |
| DSCN0629
| Sm
Med
Lg
|
| Description :
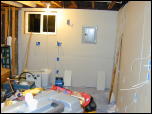
| View from the workbench area. Don't let the electrics and
ethernet attack you!
Note that while the subpanel is active, all the breakers are
disabled except for one running to the bedroom above this
corner of the basement. No exposed wiring is live.
| | Date :
| Wed Jan 15 06:01:32 2003
|
| |  |
| |
| DSCN0630
| Sm
Med
Lg
|
| Description :
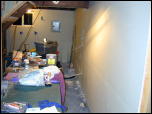
| A view further back from where the workbench will eventually
live. Two surface power strips will be mounted above the
workbench after the wall is taped and painted.
| | Date :
| Wed Jan 15 06:02:17 2003
|
| |  |
| |
| DSCN0631
| Sm
Med
Lg
|
| Description :
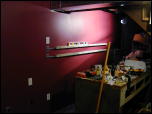
| The new workbench area under the stairs. Note the shielded
cable running to the power strips. Both strips and the outlet
near the floor are GFCI protected and on their own circuit
breaker.
| | Date :
| Fri Feb 7 05:44:42 2003
|
| |  |
| |
| DSCN0632
| Sm
Med
Lg
|
| Description :
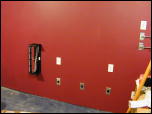
| Patch panel is installed, and outlets for the racks are in
place.
| | Date :
| Fri Feb 7 05:45:16 2003
|
| |  |
| |
| DSCN0633
| Sm
Med
Lg
|
| Description :
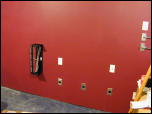
| The bottom row of connectors is as follows: 120V 30A, 240V 30A,
120V 30A, and 120V 20A.
| | Date :
| Fri Feb 7 05:45:39 2003
|
| |  |
| |
| DSCN0634
| Sm
Med
Lg
|
| Description :
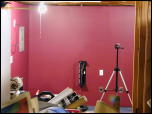
| Alternate view of the datacentre corner.
| | Date :
| Fri Feb 7 05:47:09 2003
|
| |  |
| |
| DSCN0635
| Sm
Med
Lg
|
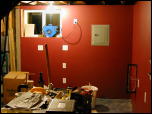
| Description :
| Messy work.
| | Date :
| Fri Feb 7 05:49:11 2003
|
| |  |
| |
| DSCN0636
| Sm
Med
Lg
|
| Date :
| Fri Feb 7 05:50:30 2003
|
| |  |
| |